> ## Documentation Index
> Fetch the complete documentation index at: https://outline.letraz.app/llms.txt
> Use this file to discover all available pages before exploring further.
# Local Dev Setup
> Learn how to locally setup Letraz repositories for development purposes. This guide will help you set up the frontend, backend and utility repositories. And also as an added bonus the documentation repository and the admin panel.
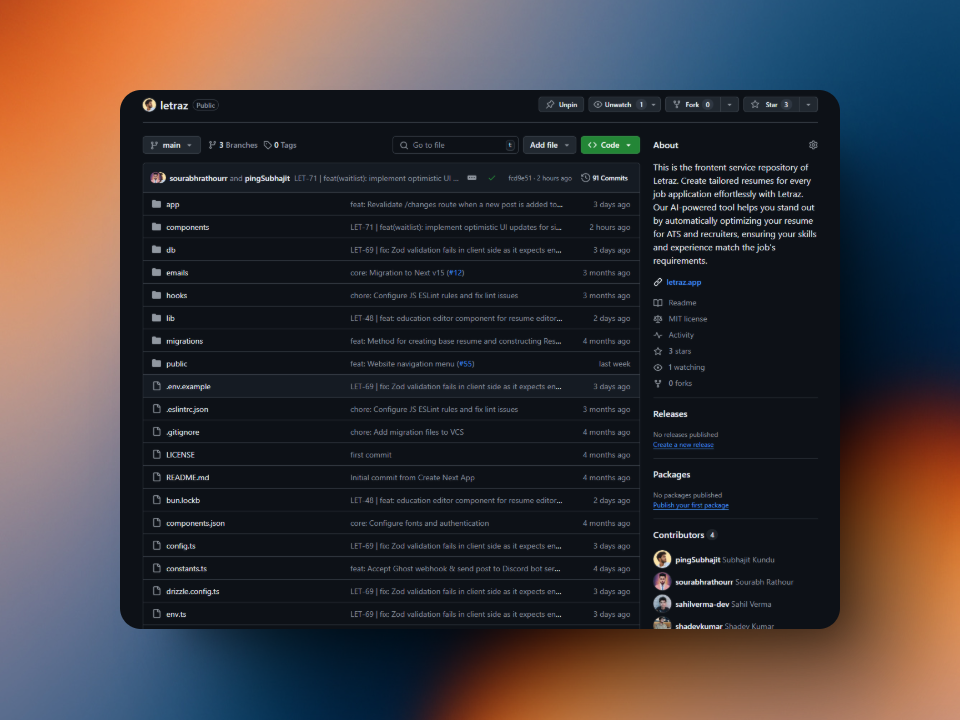 ### Main repositories
For development purposes, you need to set up the following repositories in your local system. The repositories are divided into three main repositories and two additional repositories. The main repositories are the core repositories of Letraz and absolutely required to self-host Letraz if needed.
1. Clone the repository in your local system [letraz-client](https://github.com/pingSubhajit/letraz) by running `git clone https://github.com/pingSubhajit/letraz.git`
2. Create a .env.local file and add the provided environment variables in that file. If you are not part of the core team then check the .env.example files and obtain the environment variables from your side.
3. Ensure that node.js of version 20.x.x or above is installed in your system along with the corresponding npm. Currently we're on node.js version 22.x.x.
4. Make sure you have bun package manger installed in your system. If not, install it using `npm install -g bun`.
5. Run `bun install` in your project directory to install the dependencies.
6. Run `bun run dev` to run the project development server.
7. Open your browser and navigate to [http://localhost:3000](http://localhost:3000) to view the project.
1. Install uv in your system. See uv's official [docs](https://github.com/astral-sh/uv) for installation instructions.
2. Clone the repository in your local system [letraz-server](https://github.com/LetrazApp/letraz-server) by running `git clone https://github.com/LetrazApp/letraz-server.git`
3. Create a .env file and add the provided environment variables in that file. If you are not part of the core team then check the .env.example files and obtain the environment variables from your side.
4. Ensure that Python of version 3.12.x or above is installed in your system.
5. Run `uv venv` in your project directory to create a virtual environment.
6. Activate the venv in your terminal using `source .venv/bin/activate` in Unix/MacOS or `.venv\Scripts\activate` in Windows.
7. Run `uv sync` in your terminal to install the dependencies.
8. Run `python manage.py makemigrations` to create the DB migrations file and then `python manage.py` migrate to apply the DB migrations.
9. Run `python manage.py createsuperuser` and follow the prompt to create a local admin user.
10. Run `python manage.py runserver` to run the project development server.
11. Open your browser and navigate to [http://localhost:8000](http://localhost:8000) to view the project. You should see a 404 page as nothing is mounted on the `/` route by design.
12. Access the admin panel by navigating to [http://localhost:8000/admin](http://localhost:8000/admin) and login with the superuser credentials to see and edit the data in the DB.
The django-utils repository is currently heavily under construction and is not ready for it's dev setup guide being published. Please check back later.
### Additional repositories
The additional repositories are not core to the functioning of Letraz but are required for the development and documentation purposes. The repositories are the documentation repository and the admin panel repository.
The admin panel is currently heavily under construction and is not ready for it's dev setup guide being published. Please check back later.
1. Make sure you have node.js of version 20.x.x or above installed in your system along with the corresponding npm. Currently we're on node.js version 22.x.x.
2. Install Mintlify CLI in your system using `npm install -g mintlify`.
3. Clone the repository in your local system [letraz-internal-docs](https://github.com/LetrazApp/letraz-internal-docs) by running `git clone https://github.com/LetrazApp/letraz-internal-docs.git`.
4. Run `mintlify dev` in your project directory to run the project development server.
5. Open your browser and navigate to [http://localhost:3000](http://localhost:3000) to view the project.
### Main repositories
For development purposes, you need to set up the following repositories in your local system. The repositories are divided into three main repositories and two additional repositories. The main repositories are the core repositories of Letraz and absolutely required to self-host Letraz if needed.
1. Clone the repository in your local system [letraz-client](https://github.com/pingSubhajit/letraz) by running `git clone https://github.com/pingSubhajit/letraz.git`
2. Create a .env.local file and add the provided environment variables in that file. If you are not part of the core team then check the .env.example files and obtain the environment variables from your side.
3. Ensure that node.js of version 20.x.x or above is installed in your system along with the corresponding npm. Currently we're on node.js version 22.x.x.
4. Make sure you have bun package manger installed in your system. If not, install it using `npm install -g bun`.
5. Run `bun install` in your project directory to install the dependencies.
6. Run `bun run dev` to run the project development server.
7. Open your browser and navigate to [http://localhost:3000](http://localhost:3000) to view the project.
1. Install uv in your system. See uv's official [docs](https://github.com/astral-sh/uv) for installation instructions.
2. Clone the repository in your local system [letraz-server](https://github.com/LetrazApp/letraz-server) by running `git clone https://github.com/LetrazApp/letraz-server.git`
3. Create a .env file and add the provided environment variables in that file. If you are not part of the core team then check the .env.example files and obtain the environment variables from your side.
4. Ensure that Python of version 3.12.x or above is installed in your system.
5. Run `uv venv` in your project directory to create a virtual environment.
6. Activate the venv in your terminal using `source .venv/bin/activate` in Unix/MacOS or `.venv\Scripts\activate` in Windows.
7. Run `uv sync` in your terminal to install the dependencies.
8. Run `python manage.py makemigrations` to create the DB migrations file and then `python manage.py` migrate to apply the DB migrations.
9. Run `python manage.py createsuperuser` and follow the prompt to create a local admin user.
10. Run `python manage.py runserver` to run the project development server.
11. Open your browser and navigate to [http://localhost:8000](http://localhost:8000) to view the project. You should see a 404 page as nothing is mounted on the `/` route by design.
12. Access the admin panel by navigating to [http://localhost:8000/admin](http://localhost:8000/admin) and login with the superuser credentials to see and edit the data in the DB.
The django-utils repository is currently heavily under construction and is not ready for it's dev setup guide being published. Please check back later.
### Additional repositories
The additional repositories are not core to the functioning of Letraz but are required for the development and documentation purposes. The repositories are the documentation repository and the admin panel repository.
The admin panel is currently heavily under construction and is not ready for it's dev setup guide being published. Please check back later.
1. Make sure you have node.js of version 20.x.x or above installed in your system along with the corresponding npm. Currently we're on node.js version 22.x.x.
2. Install Mintlify CLI in your system using `npm install -g mintlify`.
3. Clone the repository in your local system [letraz-internal-docs](https://github.com/LetrazApp/letraz-internal-docs) by running `git clone https://github.com/LetrazApp/letraz-internal-docs.git`.
4. Run `mintlify dev` in your project directory to run the project development server.
5. Open your browser and navigate to [http://localhost:3000](http://localhost:3000) to view the project.